Geometric Paper Marbling Patterns: Precision and Design
Paper marbling is a captivating art form, celebrated for its fluidity and the serendipitous beauty of its results. While embracing the unpredictable is part of the appeal, many marblers also strive for control – a desire to create specific, recognizable patterns. Geometric paper marbling offers a fascinating intersection of these two aspects: the freedom of flowing inks combined with the precision of design. This guide explores techniques and strategies for achieving striking geometric patterns in your paper marbling, bringing mathematical harmony to your art.
Understanding the Foundations: Ink Flow and Surface Tension
Before diving into specific geometric patterns, it’s crucial to understand the fundamental principles at play. Paper marbling relies heavily on the behavior of inks floating on a thickened water bath (often called the size). The size reduces the surface tension of the inks, allowing them to spread out instead of immediately sinking into the paper.
Key factors influencing ink flow include:
- Ink viscosity: Thicker inks tend to create more defined edges.
- Size consistency: A properly prepared size is crucial for even spreading.
- Application method: Dropping, dripping, brushing, or combing all impact the pattern.
- Water surface tension: Differences in surface tension create ripple effects, subtly shifting the inks.
Achieving geometric patterns isn't about eliminating these natural behaviors, but about harnessing them in a controlled manner. Many beginners are surprised by how much the right materials impact their results. If you're just starting out, you might find our guide to paper marbling supplies helpful in selecting the appropriate tools and materials.
Basic Geometric Patterns & Techniques
Let’s explore some accessible geometric patterns and the techniques used to create them. These builds upon the understanding of ink flow above.
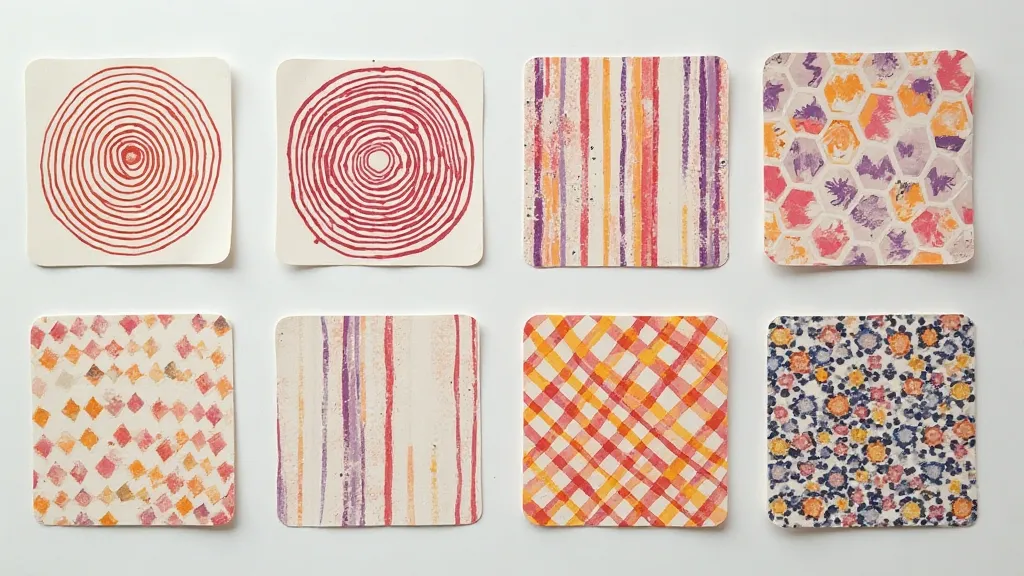
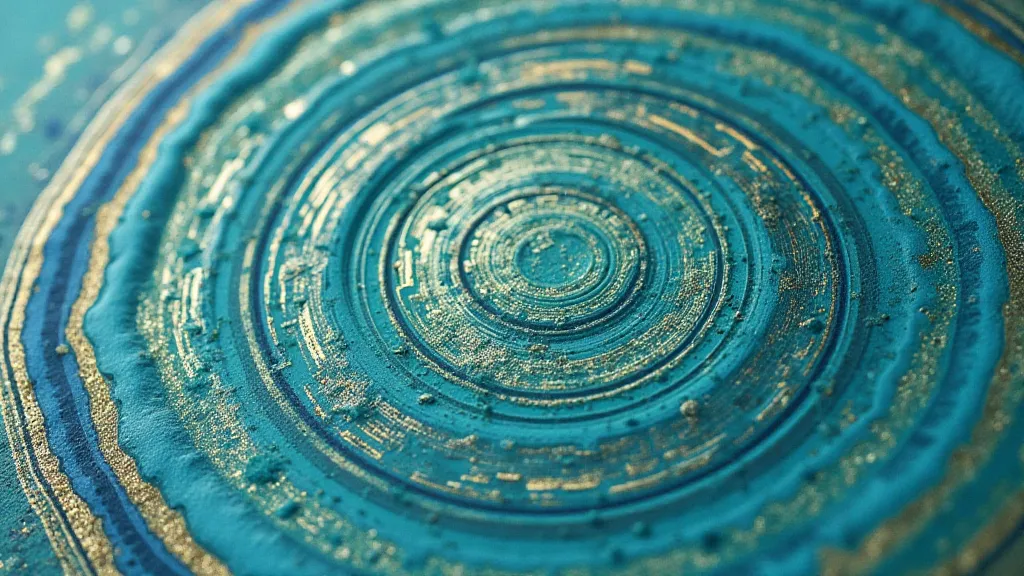
1. Concentric Circles
Concentric circles are arguably the easiest geometric pattern to create. The technique centers around dropping inks from a consistent height onto the size.
Technique: Using a dropper, slowly release small droplets of different colored inks at a single point on the size. Maintain a consistent height and controlled drop rate. The inks will naturally spread outwards, forming circles that expand from the central point.
Tips for Precision: A steady hand and careful observation are essential. Small inconsistencies in drop height or drop rate will distort the circles. Experiment with different ink viscosities – slightly thicker inks will create sharper, more defined rings.
2. Stripes and Bands
Creating stripes and bands is achieved through the use of combs or rakes.
Technique: After dropping inks onto the size, use a comb, rake, or even a stiff card to drag a line through the floating inks. The tool will displace the inks, creating parallel bands.
Tips for Precision: The angle and pressure applied to the comb directly influence the width and clarity of the bands. Consistent pressure is key. Multiple passes with different colored inks can produce layered, complex striped patterns.
3. Squares and Rectangles (with a Twist)
Directly creating perfect squares and rectangles is challenging due to the fluid nature of the process. However, we can create approximations through a combination of techniques.
Technique 1: The ‘Push and Pull’ Method: After dropping several inks, use a tool (like a skewer or a spoon) to gently push and pull the inks, attempting to form corners and straight edges. This requires a very delicate touch and a lot of practice.
Technique 1: The ‘Layered Stripes’ Method: Combine striped bands, carefully angling them to form approximate rectangular areas. Overlapping colors will create visual depth.
Tips for Precision: These techniques benefit greatly from using very viscous inks that hold their shape better. Expect imperfection – the beauty lies in the balance between control and the natural flow of the inks.
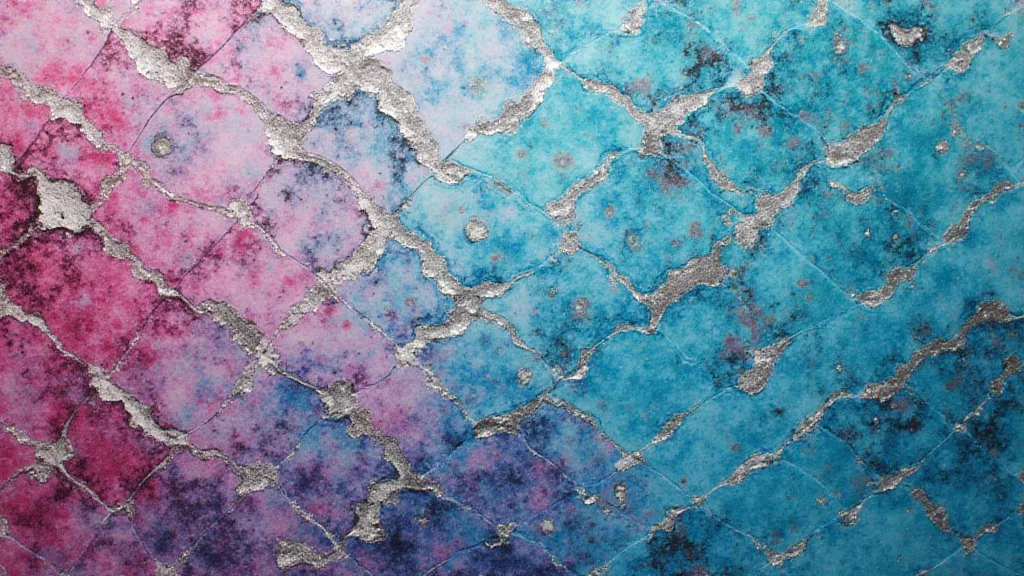
4. Diamond Patterns
Diamond patterns can be created by strategically applying inks in a radial fashion.
Technique: Drop inks at several points arranged in a circular pattern on the size. The inks will naturally expand outwards, creating a web of interconnected lines. These lines, when viewed as a whole, can resemble a diamond or crystalline structure.
Tips for Precision: The spacing and arrangement of the drop points are critical. Experiment with different drop angles and ink colors to refine the diamond pattern.
Advanced Techniques: Symmetry and Repeating Designs
Beyond basic geometric shapes, the real challenge lies in creating symmetrical and repeating designs. This requires a deeper understanding of the size's properties and a meticulous approach to ink application. The inspiration for these patterns can also be found in the beautiful art of Suminagashi, a Japanese technique using similar principles.
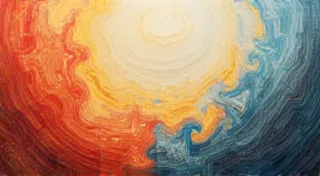
1. Radial Symmetry: The 'Rose' Pattern
The ‘rose’ pattern, a form of radial symmetry, is a popular choice. It uses the central dropping method but incorporates a carefully planned sequence of color drops.
Technique: Starting at the center, drop a small amount of ink. Then, move outwards and drop a different color at a consistent angle. Repeat this process, rotating around the center to create a radiating pattern of repeating shapes.
Tips for Precision: A protractor can be helpful in maintaining consistent angles. The viscosity of the inks is critical for defining the shapes.
2. Bilateral Symmetry: The ‘Mirror’ Effect
Achieving perfect bilateral symmetry (a mirror image) is extremely difficult due to the unpredictable nature of the size. However, approximations can be made through careful planning and manipulation.
Technique: Divide the size into two equal halves (mentally or with a guide). Apply a design to one half, then try to mirror that design on the other half. This requires a keen eye and the ability to quickly adapt to changes in the size.
Tips for Precision: Consider using a partially opaque barrier to keep one side of the size more stable while applying the initial design.
Troubleshooting and Experimentation
Paper marbling is as much about experimentation as it is about following rules. Here are some common challenges and solutions:
- Colors blending too much: Use more viscous inks, and consider using a less reactive sizing agent.
- Patterns are too diffused: Ensure your size is properly prepared and your paper is absorbent.
- Inability to achieve symmetry: Embrace imperfection! Remember that subtle variations often enhance the beauty of the marbled paper.
Don't be afraid to deviate from these techniques and develop your own unique approach. The journey of creating geometric paper marbling patterns is a rewarding one, blending precision and artistry into stunning results. Many artists are also exploring how to incorporate marbled paper into paper marbling for bookbinding, creating uniquely beautiful covers.
Finally, remember to always practice patience. Mastering geometric paper marbling takes time and dedication, but the satisfaction of creating a precisely designed, uniquely beautiful piece of art is well worth the effort.