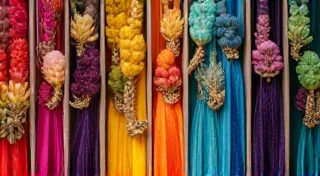
Paper Marbling Supplies: A Comprehensive Shopping List
New to paper marbling? This captivating art form transforms ordinary paper into stunning, unique creations. But where do you begin? This guide provides a complete shopping list of all the essential supplies you'll need to get started with paper marbling. We'll break down everything from the core materials to the optional extras that can elevate your marbling projects. Get ready to dive in – the beautiful world of paper marbling awaits!
The Absolute Essentials: Your Foundation for Marbling
Let's start with the core components. Without these, you simply can’t marble paper. Quality here can definitely impact your results, so it’s worth investing a little more where it matters.
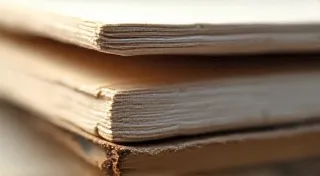
1. Marbling Paper

Paper choice is crucial! The paper *must* be absorbent and relatively strong. Avoid coated papers (like glossy magazine paper) as the colors won't adhere. Great options include:
- Watercolor Paper: A popular choice, providing a nice surface texture. Look for 140lb (300gsm) or heavier weight.
- Printmaking Paper: Specifically designed for ink adhesion, this is an excellent choice.
- Japanese Kozo Paper: Offers a beautiful, slightly translucent quality and excellent absorbency.
- Absorbent Craft Paper: A more economical option for practice, but the results might not be as crisp.
2. Marbling Size (Alum)
Alum is essential for preparing the paper. It creates a protein layer on the paper surface, allowing the colors to bind. It's essentially a mordant, acting like a primer for your paper.
- Potassium Alum: This is the standard choice and readily available online or in craft stores that cater to natural dyeing.
- Amount: Start with approximately 1 tablespoon per gallon of water.
3. Marbling Tub (or Tray)
You’re going to need a container large enough to submerge your paper. The size depends on the paper sizes you intend to marble.
- Plastic Storage Bin: A common and affordable option.
- Large Tray: Easier for smaller paper sizes.
- Purpose-Built Marbling Tray: These are available, but often not necessary for beginners.
- Size: Ideally at least 12" x 18" and deep enough to fully submerge your paper.
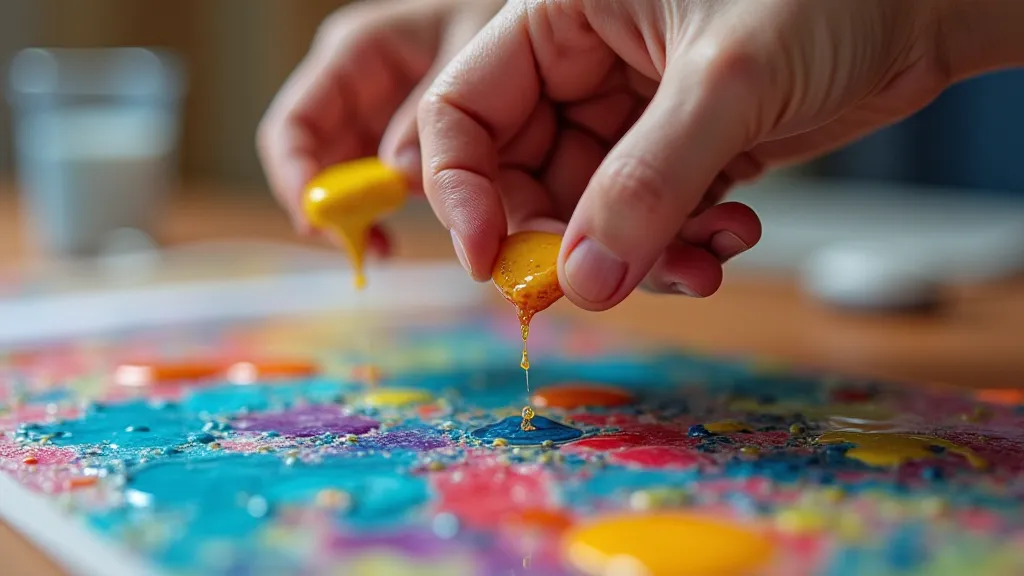
4. Marbling Colors
This is where the magic happens! The colors you choose will dictate the final appearance of your marbled paper. There are a few different types of colors you can use.
- Acrylic Paints: A good starting point. They’re readily available and relatively inexpensive. However, they may require a thickening agent (see below).
- Acrylic Fluid Inks: These are more concentrated than standard acrylic paints and often provide more vibrant results.
- Mulling Oils: These are specialized marbling inks that must be properly prepared with mulling oils.
- Color Selection: Start with a few primary colors (red, yellow, blue) and experiment from there!
5. Thickening Agent
Acrylic paints need to be thickened so they "float" on the marbling size. Without a thickener, they will simply sink.
- Methyl Cellulose (Methocel): A common and effective thickener. Follow package directions carefully.
- Other Thickeners: There are other options, but Methyl Cellulose is generally considered the easiest to work with.
Beyond the Basics: Enhancing Your Marbling Experience
Once you have the essential supplies, these optional items can further refine your results and open up new creative possibilities.
6. Droppers/Pipettes
These are invaluable for carefully applying the colors to the size. Precision is key in marbling!
7. Combs/Rakes
These tools create patterns on the surface of the size, before the paper is laid down. Common options include:
- Traditional Combs: These have fine teeth and are great for creating traditional patterns.
- Rakes: Simple tools used to drag colors across the surface.
- Household Items: Get creative! Toothpicks, forks, and even feathers can be used as makeshift tools.
8. Paper Clips/Clothes Pins
These are useful for lifting the marbled paper out of the size without disturbing the design.
9. Blotting Paper/Towels
Essential for absorbing excess size and color from the paper after marbling.
10. Soft Brushes
Used for gently cleaning up any size or color that may have dripped onto the work surface.
Getting Started: Quantities and Budget
Here's a rough guide to the quantities you’ll need to start, and a potential budget (prices are approximate and can vary):
- Alum: 1 lb ($10-$15)
- Marbling Paper: 20-50 sheets ($10-$30)
- Marbling Tub: $10-$30 (or repurpose a container)
- Acrylic Paints: 3-5 colors ($15-$30)
- Methyl Cellulose: Small box ($5-$10)
- Droppers: $5-$10
- Combs/Rakes: $5-$20 (or use household items)
Total Estimated Budget: $60 - $155
Remember, you don't need to buy everything at once. Start with the essentials and add more tools and colors as you gain experience and discover your preferred techniques.
Tips for Successful Shopping
Here are a few final tips to help you navigate the shopping process:
- Read Reviews: Check online reviews before purchasing products, especially colors and thickeners.
- Experiment with Small Batches: When trying new products or techniques, start with small batches to avoid wasting materials.
- Source Locally: Check craft stores and art supply stores in your area.
- Consider Second-Hand Options: You might find discounted tools and supplies at thrift stores or online marketplaces.
Paper marbling is a rewarding and surprisingly accessible art form. With the right supplies and a little practice, you’ll be creating stunning, one-of-a-kind papers in no time! Happy marbling!