Beginner's Guide to Paper Marbling: Your First Swirls
Paper marbling. The words evoke images of swirling, colorful patterns, intricate designs, and a sense of artistic mystery. It can seem intimidating, but the truth is, paper marbling is surprisingly accessible and immensely rewarding, even for absolute beginners! This guide will walk you through the foundational steps, equipping you with the knowledge and confidence to create your first breathtaking marbled papers.
What is Paper Marbling?
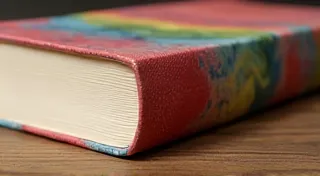
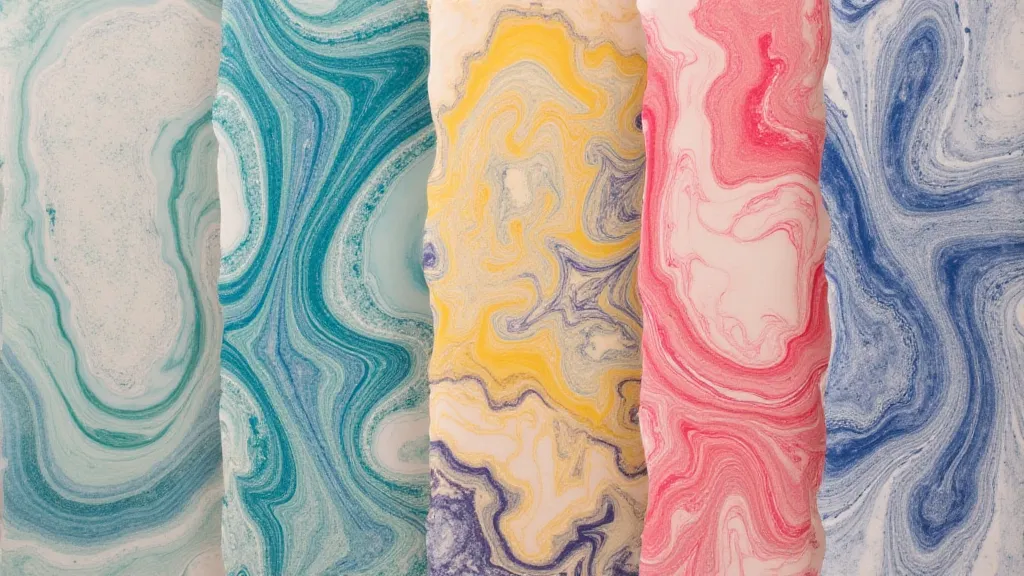
At its core, paper marbling is a process of floating pigments on a thickened water bath and then transferring those patterns onto paper. It’s a surprisingly freeform art; while techniques can be refined, the element of chance and the unique nature of each marbling session are what truly make it special. No two sheets will ever be exactly the same!
Gathering Your Materials – The Essential Toolkit
Let’s start with what you’re going to need. While the list might seem long initially, many materials can be adapted or sourced creatively. Here’s a breakdown:
- Paper: The thinner the paper, the better it absorbs the colors. Japanese tissue paper, Mulberry paper, or even lightweight watercolor paper are excellent choices. Avoid cardstock or thick paper – it won't absorb the colors effectively.
- Carageenan or Methylcellulose: This is your thickening agent. Carageenan is derived from seaweed and is generally preferred for its smoother feel, but Methylcellulose is a more readily available alternative.
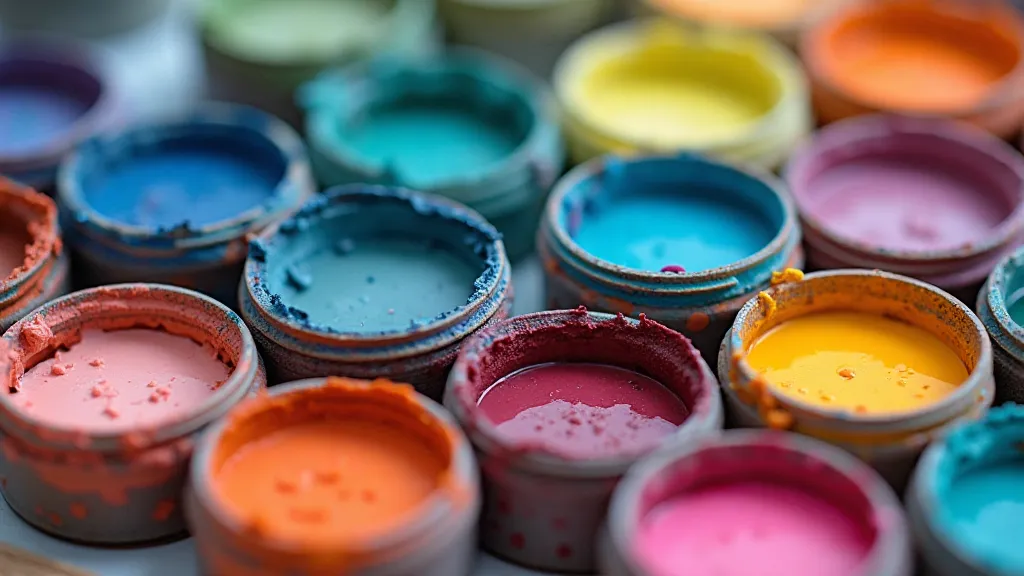
- Pigments: Acrylic paints, liquid watercolors, or even concentrated inks can be used. The key is that they need to disperse easily in water. Avoid heavy-bodied or textured paints.
- Mordant: Alum (potassium aluminum sulfate) is commonly used as a mordant. It helps the pigments bind to the paper fibers, ensuring a lasting design.
- Water: Distilled or filtered water is best to avoid mineral interference.
- Marbling Tray: A shallow, rectangular tray is ideal. A baking dish, plastic storage container, or even a repurposed tray will do.
- Droppers or Pipettes: For precise pigment application.
- Paper Towels: For cleaning and blotting.
- Ruler or Straightedge: Helpful for creating straight edges on your designs.
Step-by-Step: Your First Marbling Session
- Mordanting Your Paper: This is crucial for color adhesion. Dissolve 1 tablespoon of alum in 1 quart of warm water. Submerge your paper in the alum solution for 2-5 minutes. Gently remove the paper and hang it to dry completely. This process can be done ahead of time.
- Preparing Your Marbling Bath: The consistency of your bath is vital. Following package directions, slowly add carageenan or methylcellulose to a quart of cool water, stirring constantly to prevent clumps. Allow the mixture to sit for about 30 minutes to fully hydrate. Then, gently warm the mixture on a hot plate or over low heat, stirring continuously until it reaches a slightly thickened, honey-like consistency.
- Adding Your Pigments: Drop small amounts of your chosen pigments onto the surface of the thickened bath. Start with a few drops of each color.
- Creating Patterns: This is where the magic happens! You can use various tools and techniques to manipulate the pigments and create patterns. Here are a few beginner-friendly methods:
- Spattering: Gently tap the pigments with a brush or dropper to create a speckled effect.
- Swirling: Use a stylus, a skewer, or even a toothpick to gently swirl the pigments together, creating swirling patterns.
- Comb Through: Drag a comb or ruler through the pigments to create clean, straight lines.
- Transferring the Design to Paper: Once you’re happy with the pattern on the surface of the bath, gently lay your mordanted paper onto the surface. Let it rest for a few seconds.
- Lifting the Paper: Carefully lift the paper straight up, avoiding any wobbling. The design will transfer to the paper.
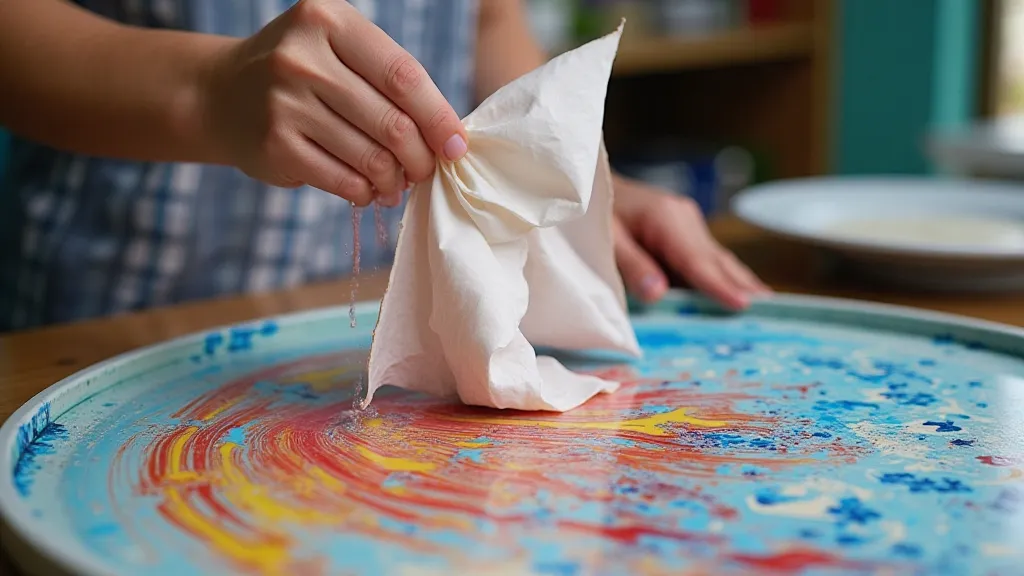
- Rinsing and Drying: Rinse the paper gently under cool water to remove the excess marbling solution. Hang the paper to dry, preferably out of direct sunlight.
Tips for Beginners
- Start Simple: Don't try to create intricate designs right away. Focus on mastering the basics.
- Experiment with Colors: Try different color combinations to see what effects you can create.
- Practice Makes Perfect: The more you practice, the better you’ll become at understanding how the pigments interact and how to control the patterns.
- Embrace the Unexpected: Paper marbling is inherently unpredictable. Don't be afraid to experiment and embrace the unique results you get.
- Clean Up: Thoroughly clean your marbling tray after each session to prevent pigment buildup.
Beyond the Basics
Once you’re comfortable with the fundamental techniques, you can explore more advanced methods such as:
- Stone Patterns: Use a small stone or marble to create circular patterns.
- Turkish Brush Techniques: Employ specialized brushes to create intricate floral designs.
- Layered Marbling: Create multiple layers of color by transferring the paper to the bath multiple times.
Conclusion
Paper marbling is a captivating art form that blends creativity, technique, and a touch of serendipity. With a little practice and experimentation, you’ll be creating your own stunning marbled papers in no time. So gather your materials, embrace the process, and prepare to be amazed by the beauty you can create!