Paper Marbling with Household Materials: Budget-Friendly Art
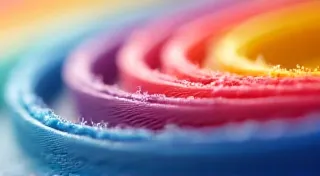
Paper marbling, with its swirling, ethereal patterns, often feels like a luxurious art form. But did you know you can create stunning marbled paper at home using materials you probably already have? This guide will break down the basics of paper marbling, focusing on accessible and affordable alternatives to traditional marbling supplies. Get ready to unleash your creativity and transform ordinary paper into extraordinary works of art – without breaking the bank!
Understanding the History and Basics of Paper Marbling
Before we dive into the budget-friendly materials, let's briefly explore the fascinating history of paper marbling. This technique, with its roots in various cultures spanning centuries, has been used to create unique and beautiful papers for centuries. Delving into the history of paper marbling reveals a rich tapestry of traditions and influences, making it even more rewarding to practice. Fundamentally, the process involves floating pigments (dyes) on a thickened water bath (the size) and then transferring those pigments onto paper. The 'size' is what holds the pigments on the surface and prevents them from sinking. Traditionally, sizes are made with materials like methyl cellulose or seaweed extracts. We're going to explore how to create a surprisingly effective size with common household ingredients.
The Size: Our Budget-Friendly Foundation
The size is arguably the most important element in paper marbling. Without a proper size, your colors will simply sink to the bottom of the water. While methyl cellulose is a gold standard, it's often an initial barrier for newcomers. Here’s how to craft a simple, workable size using cornstarch:
Cornstarch Size Recipe (Small Batch - Perfect for Beginners)
- 1 cup Water
- 1 tablespoon Cornstarch
- Combine water and cornstarch in a saucepan.
- Whisk vigorously to ensure there are no lumps.
- Heat the mixture over medium heat, continuing to whisk constantly.
- The mixture will begin to thicken noticeably. Continue heating and whisking until it reaches a consistency similar to thin glue. This typically takes 3-5 minutes.
- Remove from heat and allow to cool completely. The size will thicken further as it cools.
Important Note: The consistency of the size is crucial. It needs to be thick enough to suspend the colors, but not so thick that it’s difficult to manipulate. Experimentation is key! A common question is, "What type of paper is best for marbling?" The answer can greatly affect your results, so taking the time to choosing the right paper for paper marbling is a worthwhile first step.
Pigments: Embracing Everyday Dyes
While traditional marbling inks are beautiful, they can be expensive. Fortunately, you can achieve stunning results with readily available household dyes:
- Food Coloring: A surprisingly effective and inexpensive option. Experiment with different color combinations! Gel food coloring tends to be more concentrated and provides more vibrant results.
- Coffee or Tea: Creates beautiful earthy tones. Strong brews work best.
- Turmeric: For a lovely golden-yellow hue.
- Red Cabbage Water: Produces a range of purples and blues, depending on the pH of the water (vinegar will make it pinker).
- Acrylic Paint (diluted): Can be used, but requires more dilution and careful application.
Pro-Tip: Before marbling a whole sheet of paper, always test your chosen pigments on a scrap piece of paper to ensure you achieve the desired color and intensity. Consider the environmental impact of your art supplies as well; sustainable paper marbling practices are becoming increasingly important.
The Marbling Process: Step-by-Step
- Prepare Your Bath: Pour your prepared cornstarch size into a shallow, rectangular container (a plastic storage box works well). The size needs to be at least 10 inches long and 8 inches wide to comfortably marble a standard sheet of paper.
- Apply the Pigments: Gently drop small amounts of your chosen pigments onto the surface of the size. Avoid overcrowding – less is more!
- Create Patterns: Use marbling tools (or simple household items like toothpicks, skewers, or even a fork) to manipulate the pigments and create your desired patterns. Common techniques include swirling, combing, and raking.
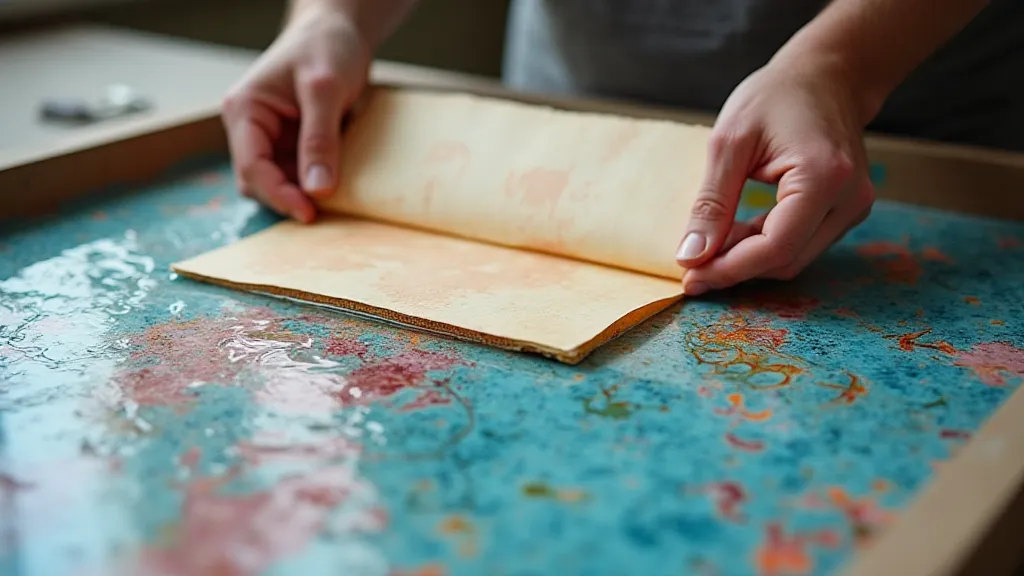
- Lay the Paper: Carefully lower a sheet of paper onto the surface of the marbling bath. Ensure the entire sheet is submerged.
- Lift and Rinse: Gently lift the paper from the bath, allowing the excess size to drip back in. Rinse the paper under cool water until the water runs clear.
- Dry the Paper: Lay the marbled paper flat to dry. You can place it between layers of paper towels to absorb excess moisture.
Experimentation and Troubleshooting
Paper marbling is all about experimentation! Don't be afraid to try different combinations of pigments, tools, and techniques. Here are a few common troubleshooting tips:
- Colors sinking: Your size may not be thick enough. Add a little more cornstarch and repeat the thickening process.
- Colors muddying: You may be using too much pigment or mixing incompatible colors. Start with small amounts of pigment and test your color combinations beforehand.
- Uneven patterns: Ensure your size is evenly distributed and that your paper is completely submerged.
Beyond the Basics: Elevating Your Marbling Art
Once you're comfortable with the basic techniques, explore more advanced options:
- Layering Colors: Marbling multiple layers of paper to create more complex designs.
- Adding Resist: Applying a resist material (like glue or wax) to the paper before marbling to create patterns.
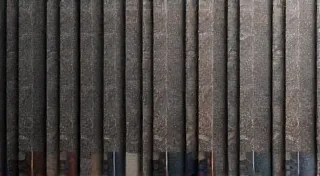
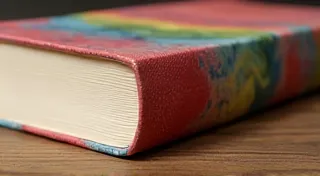
- Combining with Other Art Forms: Incorporating marbled paper into mixed media projects like collages, journals, and book covers. This technique is particularly popular in paper marbling for bookbinding, adding a unique and handcrafted touch to covers and endpapers.
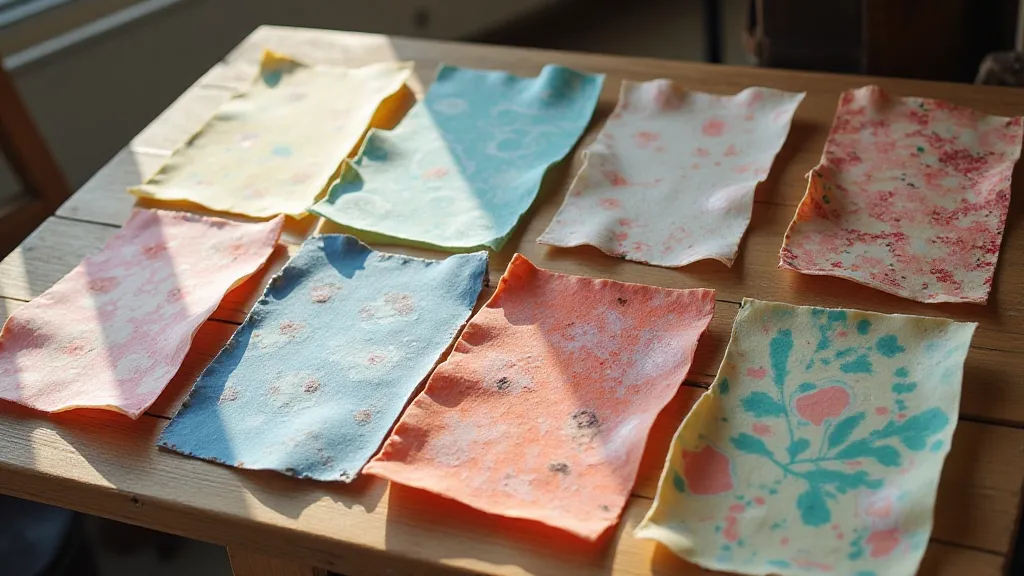
Paper marbling with household materials is a wonderfully accessible and rewarding art form. With a little creativity and experimentation, you can create stunning, unique designs without breaking the bank. So gather your supplies, embrace the mess, and unleash your inner artist!