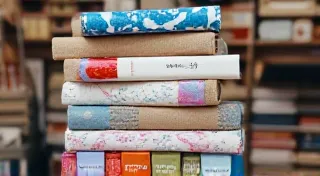
Creating Abstract Paper Marbling: Letting Go of Control
Embrace the unpredictable beauty of abstract paper marbling! This guide encourages experimentation and exploration of spontaneous designs. While precise patterns in paper marbling can be incredibly satisfying, there's a unique freedom and allure in allowing the colors to dance and blend in a less structured way. This article explores the techniques and mindset necessary to create stunning abstract paper marbling results. We’re going to focus on letting go – surrendering to the fluidity and embracing the unexpected.
Understanding the Foundation: The Basics Still Apply
Even when aiming for abstract designs, a solid understanding of the foundational principles of paper marbling is crucial. This isn’t a recipe for chaos; it's about guided improvisation. Let's quickly recap the key elements:
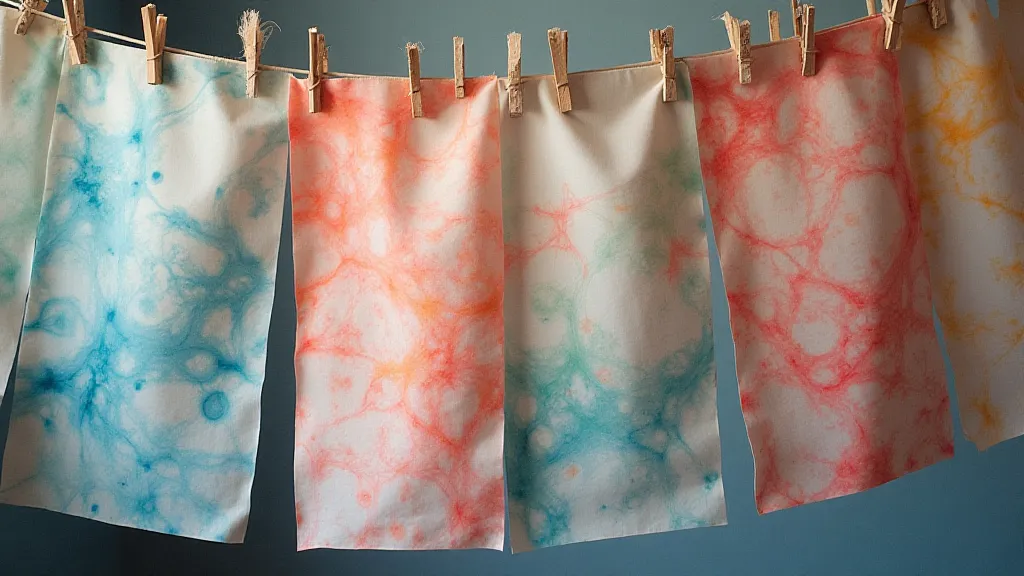
- The Size and Preparation of Paper: Most paper marbling techniques work best with absorbent paper. Watercolor paper, printmaking paper, or even good quality drawing paper are all suitable. Sizing the paper to resist the inks is also vital. Alum sizing is the most common, but there are other options. Proper sizing prevents the inks from feathering and allows them to sit on the surface, creating those characteristic marbled effects.
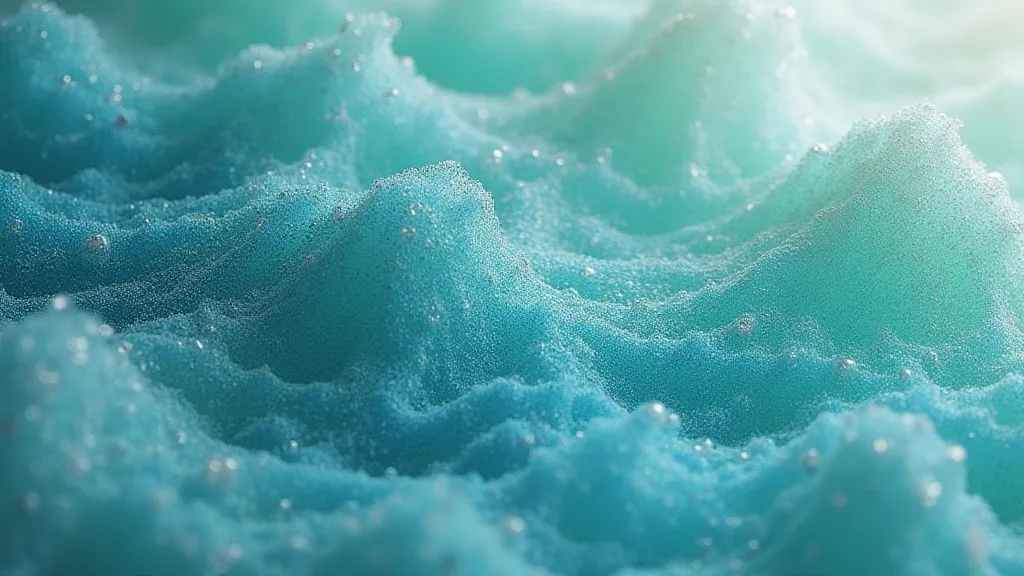
- The Marbling Bath (Carrageenan or Methylcellulose): The bath is the foundation upon which your design is built. Carrageenan is a natural seaweed extract and methylcellulose is a synthetic alternative. Both create a viscous solution that suspends the colors, allowing them to spread and swirl. The concentration of the bath is important – too thick, and the colors won't move; too thin, and they're likely to bleed together uncontrollably.
- The Marbling Inks (or Pigments): Acrylic inks, specialized marbling inks, or even powdered pigments suspended in a binder can be used. The ink's viscosity and surface tension play a role in how it behaves in the bath.
- Tools for Manipulating the Colors: Rakes, combs, sponges, brushes, and even simple sticks can be used to manipulate the colors in the bath and create patterns.
Letting Go: The Mindset Shift
The biggest hurdle in creating abstract paper marbling isn't technical; it's mental. Many beginners approach marbling with a desire to replicate a specific pattern. While that’s a great place to start, abstract marbling requires a willingness to relinquish control. Think of it less as creating a picture and more as orchestrating a visual experiment.
Here are a few mindset tips:
- Embrace the Unexpected: Be prepared for surprising results. A color might react differently than you expect, or a tool might create a pattern you hadn’t planned. These are not failures; they are opportunities.
- Experiment Without Attachment: Don't get too attached to a particular outcome. View each marbling session as an exploration, and learn from the results.
- Focus on the Process: The joy of abstract marbling lies in the process itself – the swirling colors, the tactile feel of the bath, the anticipation of the final result.
- Don't Judge: Avoid the temptation to immediately criticize your results. Instead, observe, analyze, and learn what happened.
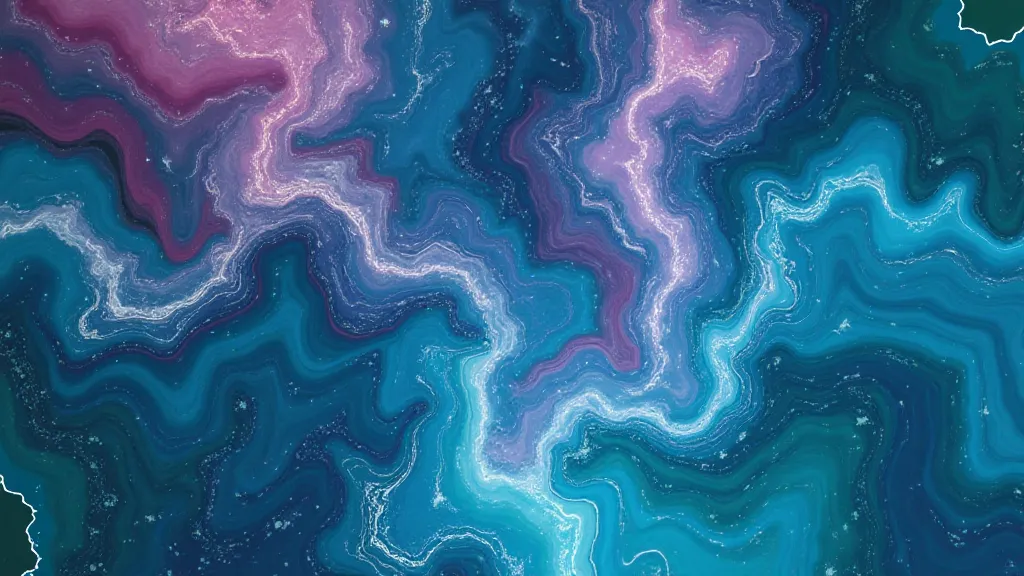
Techniques for Abstract Paper Marbling
Now let’s look at some techniques that lend themselves particularly well to abstract designs. These often involve a more intuitive and less structured approach to color manipulation.
1. The "Drop and Swirl" Method
This is a fantastic starting point for beginners. Simply drop colors directly into the marbling bath and then gently swirl them with a tool (a toothpick, a small brush, even your finger). The goal isn't to create a recognizable pattern, but to allow the colors to blend and interact organically. This is pure improvisation.
2. The "Brushstroke" Approach
Instead of using traditional rakes or combs, use a brush to apply colors to the bath in sweeping, spontaneous strokes. Vary the pressure and angle of the brush to create different textures and effects. Don't worry about creating a continuous pattern; focus on capturing the energy and movement of the brushstrokes.
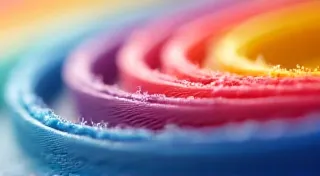
3. The "Layered Drop" Technique
This involves layering colors on top of each other, allowing them to interact in unpredictable ways. Apply one color, let it settle slightly, then apply another. The second color will often weave its way through the first, creating unique and intricate patterns. Experiment with different color combinations and application techniques to discover new effects.
4. The "Sponge Dab" Method
Use a sponge to apply the inks. The uneven surface of the sponge creates unique textures and patterns as it presses into the bath. This method can produce very organic and free-form designs. Try different types of sponges, from natural sea sponges to synthetic ones, to see how they affect the final result.
5. "Negative Space" Exploration
Deliberately leave areas of the bath untouched. This creates "negative space" within your marbling, and can produce a surprisingly balanced and sophisticated design. You can also use a tool to gently clear away color from the bath, revealing the underlying bath solution.
Troubleshooting and Further Exploration
Even with abstract marbling, a few common issues can arise. Inks not spreading? The bath might be too thick. Colors bleeding together uncontrollably? The bath might be too thin, or the inks might be too fluid. Uneven color distribution? The paper might not be sized correctly. Experimenting with the bath's concentration and the ink's viscosity is key.
Once you feel comfortable with the basic techniques, don’t be afraid to push the boundaries. Try incorporating non-traditional tools, layering multiple papers, or even adding texture to your designs. Remember, there are no rules in abstract marbling – only opportunities for creative exploration.
Conclusion
Creating abstract paper marbling is a journey of letting go and embracing the unexpected. It’s about surrendering to the fluidity of the colors and allowing them to guide your creative process. With a bit of practice and a willingness to experiment, you’ll be creating stunning abstract paper marbling designs in no time. So, dive in, play with the colors, and enjoy the beautiful chaos!