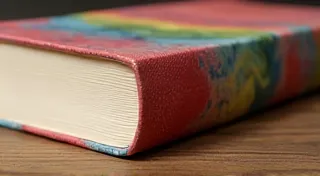
Dutch Paper Marbling: Mastering the Traditional Technique
Dutch paper marbling, also known as Dutch floating colors or Nederlands papier marmeren, stands apart from other marbling techniques due to its distinct aesthetic and meticulous approach. Unlike the vibrant, swirling patterns often seen in Turkish or Japanese marbling, Dutch paper marbling produces designs characterized by their subtlety, depth, and a unique “floating” effect. This article will delve into the fascinating world of Dutch paper marbling, exploring the tools, techniques, and artistry required to achieve these beautiful, traditional designs.
The History & Uniqueness of Dutch Marbling
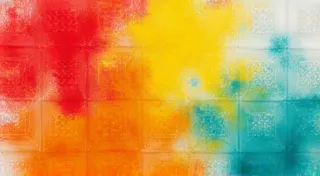
While paper marbling has ancient roots across several cultures, Dutch marbling truly came into its own during the 17th century in the Netherlands. Initially developed as an affordable imitation of expensive dyed textiles and wood grain, it quickly evolved into a respected art form. What truly sets Dutch marbling apart is its reliance on a limited palette of colors, often earth tones and muted shades, and a meticulous process that emphasizes controlled movement rather than explosive splashes. The resulting designs possess a quiet elegance and a remarkable sense of depth.
Historically, Dutch marblers worked with a limited number of colors, often derived from natural pigments like ochre, umber, and indigo. This restraint in color choice contributes significantly to the overall aesthetic of the technique, allowing the subtle nuances of the floating colors to truly shine.
Essential Tools & Materials
To begin your journey into Dutch paper marbling, you'll need to gather a specific set of tools. While the principle remains the same, the nuances in Dutch marbling demand precision:
- The Marbling Vat: A rectangular or square container, typically made of wood or plastic. The size is a matter of personal preference, but a larger vat (around 12-18 inches in each dimension) is easier to work with.
- Marbling Size (Alum): This is a crucial ingredient. Alum is a mineral salt that prepares the paper to accept the floating pigments. It creates a slight positive charge on the paper fibers.
- Oxalic Acid: Used to neutralize the alum solution; essential for rinsing and preparing the paper.
- Pigments: Traditionally, natural pigments were used. Nowadays, acrylic paints or specialized marbling inks are more common, but should be diluted to a fluid consistency.
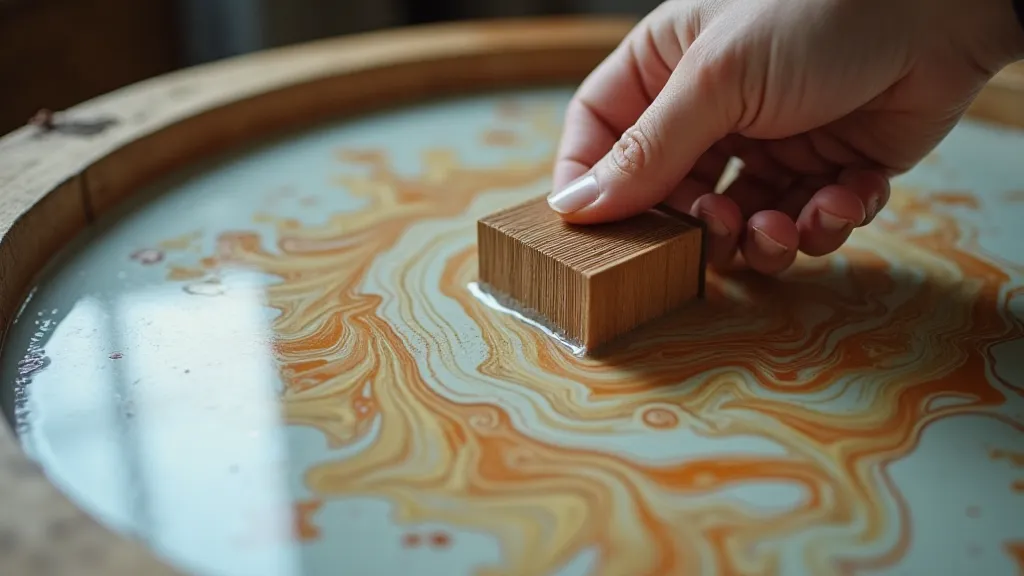
- "Dragging Sticks" (Combs): These are the signature tools of Dutch marbling. They are usually straight, long, and thin, made of wood or bamboo.
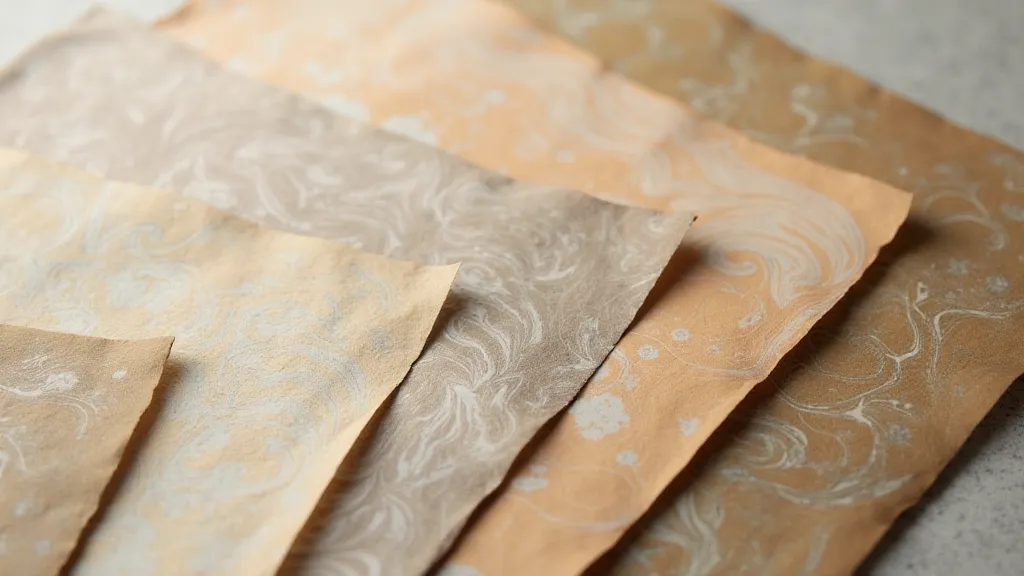
- Paper: Absorbent paper is a must. Watercolor paper or printing paper are good choices.
- Brushes: For applying size and rinsing the paper.
- Gloves: To protect your hands from the size solution.
The Dutch Marbling Process: A Step-by-Step Guide
- Preparing the Size Bath: Dissolve alum in warm water according to the specific alum product instructions. This bath must be thoroughly mixed and allowed to settle.
- Sizing the Paper: Submerge your paper in the alum bath for a designated time (usually 15-30 minutes). This allows the alum to bond with the paper fibers.
- Rinsing the Paper: Carefully remove the paper from the alum bath and rinse it thoroughly with water, neutralizing the alum with a diluted oxalic acid solution. This is a critical step to prevent the colors from bleeding and to ensure the paper is receptive to the pigments.
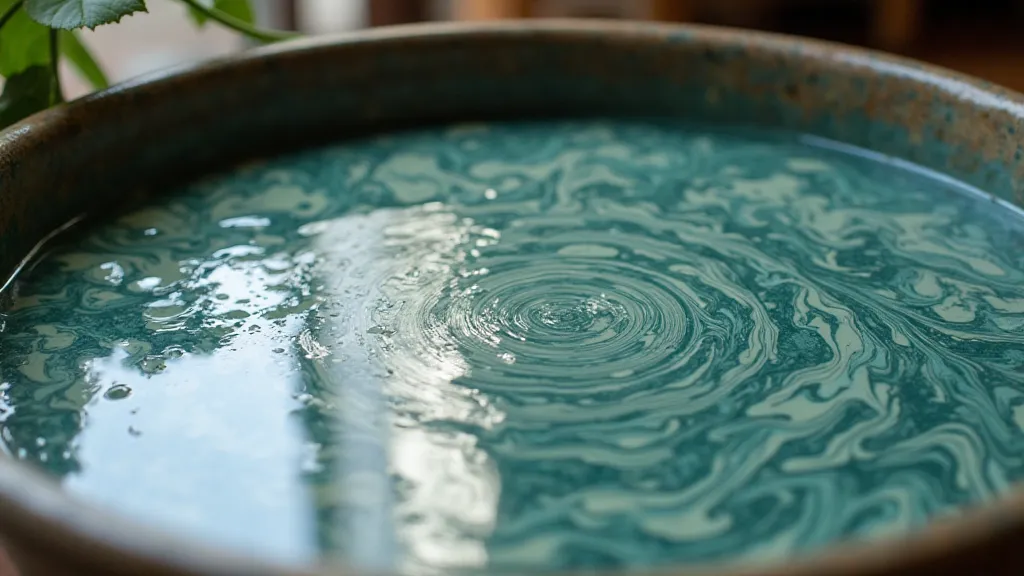
- Creating the Floating Colors: Gently drop small amounts of diluted pigment onto the surface of the water in the marbling vat. The key is to use a very small quantity of pigment at a time and allow the colors to spread naturally.
- Dragging the Patterns: This is the defining characteristic of Dutch marbling. Use the dragging sticks to create the patterns. These sticks are drawn gently across the surface of the water, creating subtle, flowing lines and shapes. Overlapping the drags will create more complex patterns. The key is control and subtlety - avoid forceful movements.
- Transferring the Pattern: Carefully lay your sized paper onto the surface of the water, allowing it to absorb the floating colors. Lift the paper slowly and evenly to prevent distortion.
- Rinsing and Drying: Rinse the paper thoroughly to remove excess pigment and then hang it to dry.
Tips for Mastering Dutch Paper Marbling
- Practice with Single Colors: Before attempting complex patterns, practice dropping and dragging single colors to understand how they behave on the water.
- Control the Pigment Quantity: Less is more! Start with tiny amounts of pigment and gradually increase as you gain experience.
- Gentle Movements: The beauty of Dutch marbling lies in its subtlety. Avoid harsh, abrupt movements.
- Water Temperature: Maintaining a consistent water temperature is important for predictable results.
- Patience is Key: Dutch paper marbling requires patience and a delicate touch. Don’t be discouraged by initial failures.
- Experiment with Paper Types: Different paper types will absorb the colors differently, affecting the final design.
Beyond the Basics: Exploring Variations
Once you're comfortable with the traditional Dutch marbling technique, you can begin to experiment. Some variations include:
- Stone Patterns: Employing a more “controlled” drag to create patterns reminiscent of stone.
- Layered Colors: Carefully layering different colors to build up depth and complexity.
- Using Different Dragging Tools: Experiment with different widths and shapes of dragging sticks.
Dutch paper marbling is a rewarding art form that combines technical skill with artistic expression. With practice and a keen eye for detail, you can create exquisite, one-of-a-kind papers that embody the elegance and timeless beauty of this traditional technique.