Marbling on Fabric: Creating Unique Textiles
While paper marbling is a beloved art form, the possibilities extend far beyond the page! Marbling on fabric opens up a world of creative potential, allowing you to create stunning, one-of-a-kind textiles for clothing, home décor, and mixed media projects. This guide will walk you through the essential techniques and considerations for marbling fabric, transforming ordinary materials into extraordinary works of art.
Why Marble Fabric?
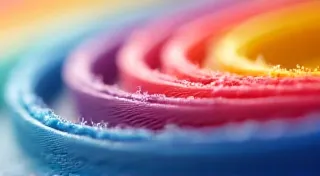
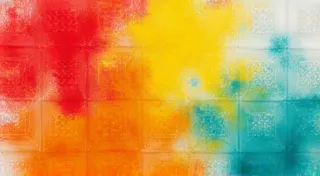
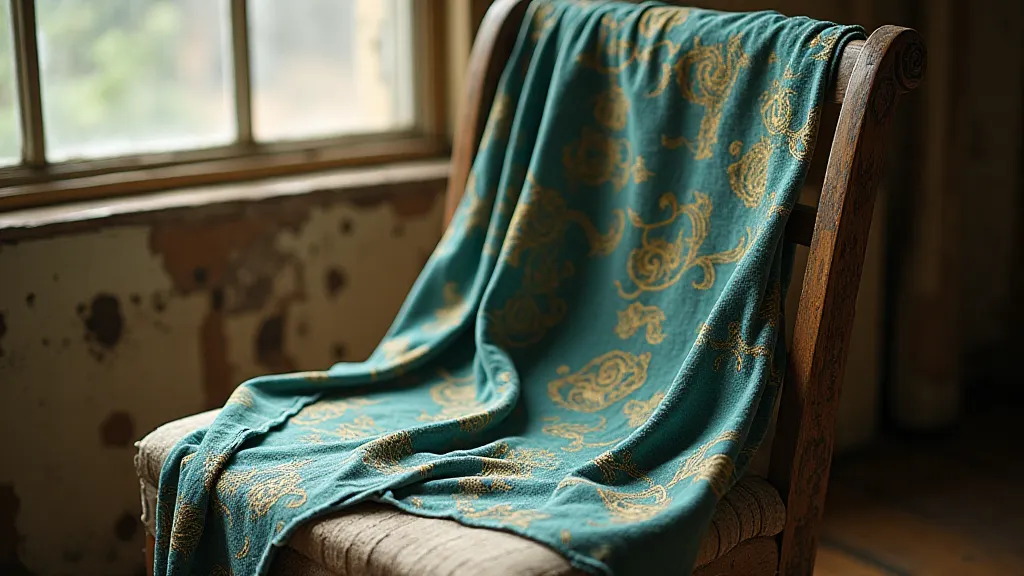
The appeal of marbling fabric lies in its unexpected beauty and the organic, flowing patterns it produces. Unlike printed fabrics, each marbled piece is unique. The unpredictability of the process adds a captivating element of surprise and a handcrafted quality that’s hard to replicate. Plus, marbled fabric can be incredibly versatile – imagine creating:
- Clothing: Scarves, dresses, blouses, and even accents on denim jackets.
- Home Décor: Pillowcases, table runners, curtains, and upholstery.
- Artistic Projects: Fabric for quilting, appliqué, or mixed media creations.
Materials You’ll Need
Marbling fabric requires slightly different materials and preparation compared to paper marbling. Here's a breakdown:
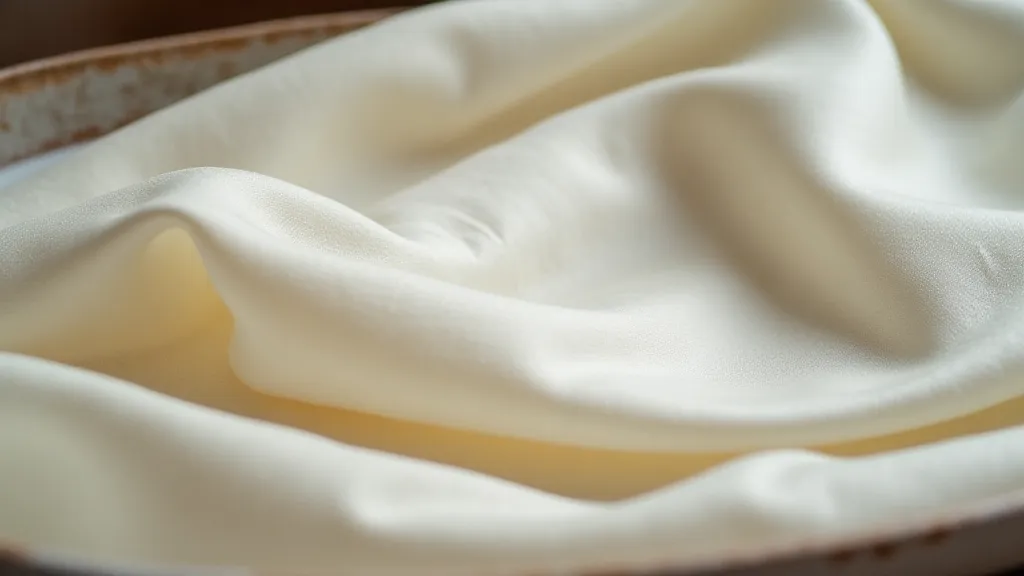
- Fabric: Natural fibers like silk, cotton, linen, and rayon work best. Synthetic fabrics don's absorb the size and marbling paints well. Consider the fabric’s weave and weight – lighter fabrics like silk require more care. Pre-wash the fabric to remove sizing and ensure even paint absorption.
- Alum or Fabric Sizing: This is essential for preparing the fabric to accept the marbling paints. Alum (potassium aluminum sulfate) helps to tighten the weave and create a receptive surface. Fabric sizing alternatives are available, specifically formulated for marbling.
- Marbling Paints: Acrylic paints are a popular choice, but specialized fabric paints are also readily available. Choose vibrant colours that will stand out against the fabric.
- Marbling Size (Carrageenan or Methyl Cellulose): This liquid medium suspends the paints on the surface of the size bath.
- Mixing Containers: Several containers for mixing the size, paints, and other solutions.
- Marbling Tray: A shallow, rectangular tray large enough to accommodate your fabric.
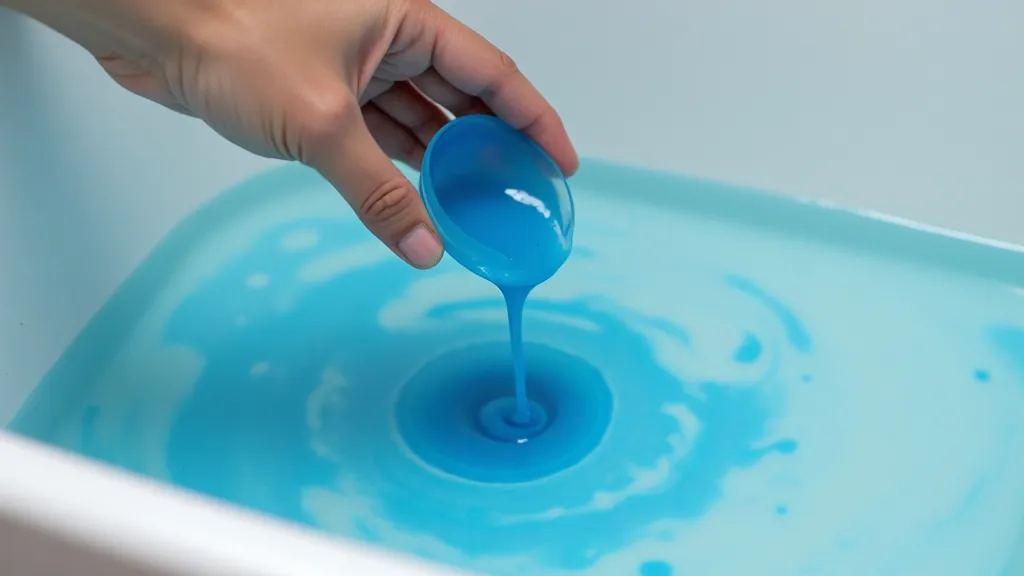
- Droppers or Pipettes: For carefully dropping the paints into the size bath.
- Combs, Rakes, or Styluses: Tools for manipulating the paints and creating patterns.
- Gloves: To protect your hands from the chemicals.
- Fixative: A specialized fixative for marbling paints, to ensure colours remain vibrant and stay on the fabric
Step-by-Step Guide to Marbling Fabric
- Prepare the Fabric (Sizing): This is the most crucial step. Dissolve the alum or fabric sizing according to the product instructions. Soak the pre-washed fabric in the sizing solution for at least 20-30 minutes, ensuring it's completely saturated. Gently squeeze out the excess liquid – don’t wring! If you’ve been exploring the art of paper marbling, you'll appreciate the meticulous preparation required for fabric as well. Many of the core principles remain the same.
- Prepare the Size Bath: Mix the marbling size (carrageenan or methyl cellulose) in water according to the manufacturer’s instructions. The consistency should be similar to skim milk. Allow it to fully hydrate – this can take several hours.
- Create the Marble Pattern: Gently lay the sized fabric onto the surface of the size bath, avoiding bubbles. The fabric should float.
- Apply the Paints: Using droppers or pipettes, carefully drop small amounts of the marbling paints onto the fabric. Experiment with different colours and patterns.
- Manipulate the Paints (Optional): Use combs, rakes, or styluses to manipulate the paints and create more complex patterns. Swirls, waves, and feathery designs are all achievable with practice.
- Lift the Fabric: Gently lift the fabric from the size bath, allowing the excess size to drain back.
- Rinse the Fabric: Rinse the fabric thoroughly with cool water until the size no longer leaches out.
- Dry the Fabric: Lay the fabric flat to dry completely, away from direct sunlight.
- Fixative Application: Once dry, apply a specialized marbling fixative to help the colours remain vibrant and stay on the fabric.
Tips and Troubleshooting
Marbling fabric can be tricky, so here are some tips for success:
- Water Quality: Use distilled or filtered water for best results, as tap water can contain minerals that interfere with the process.
- Temperature Control: Maintain a consistent temperature in the size bath – warmer temperatures can affect the way the paints float and spread.
- Paint Consistency: Ensure your paints are properly thinned – too thick, and they won't spread evenly; too thin, and they'll disappear into the size bath.
- Pattern Variations: Experiment with different tools and techniques to create a variety of patterns.
- Bubbles: Minimize bubbles by gently laying the fabric onto the size bath and avoiding sudden movements.
- Color Bleeding: Color bleeding can be a common problem. The fixative will greatly reduce the chances of bleed, but you can also try using more concentrated paints and rinsing the fabric more thoroughly. For those captivated by the historical context of this art, delving into the history of paper marbling can offer fascinating insights into the evolution of these techniques.
Exploring Different Techniques
Once you'll grasp the basics, there's a whole world of marbling techniques to explore:
- Japanese Sumi-e Marbling (E-kitsu): Uses a different size and a more controlled application of paints to achieve delicate, flowing designs.
- Lithography Marbling: A more complex technique that uses oil-based paints and a gelatin sizing.
- Combining Techniques: Mix different marbling techniques to create unique and intricate designs.
- Gift Creation: Marbled fabric is also an amazing base for creating unique gifts. Check out paper marbling gift ideas for inspiration that can be adapted to fabric projects.
- Bookbinding: If you love the look, you can apply similar techniques to bookbinding, adding a touch of unique flair to your creations. Explore the details in paper marbling bookbinding.
Safety Precautions
Working with chemicals requires caution. Always:
- Wear gloves to protect your hands.
- Work in a well-ventilated area.
- Follow the manufacturer’s instructions for all chemicals.
- Keep chemicals out of reach of children and pets.
Understanding the Science Behind Marbling
The beauty of marbled fabric isn't just about aesthetics; it's also a fascinating interplay of chemistry and physics. The size bath, whether you're using carrageenan or methyl cellulose, creates a temporary suspension of the paint pigments. These pigments are less dense than the size bath, causing them to float on the surface. The surface tension of the size also plays a crucial role, influencing how the paints spread and interact. Understanding these principles allows for greater control and creativity in the marbling process. Different fabrics react differently to the sizing process, impacting the final design. Heavier fabrics may require a thicker size bath, while lighter fabrics may be more susceptible to bleeding. Experimentation is key to finding the right balance for your chosen fabric.
Troubleshooting Common Marbling Issues
Even experienced marblers encounter challenges. Here are some common problems and how to address them:
- Uneven Paint Distribution: This can be caused by an inconsistent size bath or uneven application of the fabric. Ensure the size bath is thoroughly mixed and that the fabric is gently laid on the surface, avoiding any disturbances.
- Bleeding: This occurs when the paint pigment mixes with the size and spreads uncontrollably. Using a higher concentration of size or a different type of fabric can help prevent bleeding.
- "Muddy" Designs: This happens when the paint pigments become trapped within the size bath, resulting in a blurred and less defined pattern. Using fresh size and avoiding excessive agitation can minimize muddy designs.
- Fabric Sticking: The fabric might stick to the size bath if the size bath is too thick or the fabric isn't properly sized. Experiment with different size concentrations and ensure the fabric is thoroughly wetted before marbling.
Expanding Your Marbling Creativity
Once you’re comfortable with the basics, there’s a whole world of possibilities to explore. Consider incorporating different tools and techniques to create unique and personalized designs. Stencils, brushes, and even stamps can be used to add intricate details and patterns. Combining marbling with other textile arts, such as embroidery or appliqué, can also result in stunning and one-of-a-kind creations.
Caring for Your Marbled Fabric Creations
Marbled fabric requires gentle care to preserve its beauty and vibrancy. Hand washing is generally recommended, using a mild detergent and cool water. Avoid harsh chemicals and strong sunlight, as these can fade the colors. Ironing should be done on a low setting, and it's best to iron the fabric while it's slightly damp to prevent cracking.